I'm currently working on the 1/144th scale OZ-06MS Leo Custom (Gundam Wing) from the "Limited Model" (LM) series from Bandai, manufacturer of all things Gunpla. Released in 1996, the LM line covered several anime shows and produced 6 Gundam kits, the Leo being the 4th kit on that list and the 15th in the whole series. It originally sold for ¥ 800 ($10), but has now become more expensive and harder to come by. I'm building one of 2 Leos I was lucky to snipe off eBay, the other being saved for my next project.
Front of Box
Back of Box
(From top left to bottom left) runner with arms and torso, runner with legs and weapon, instruction booklet, polycap joints, and water-slide decals.
As you can see, the kit is molded in one color, so painting's a must. The polycap joints are the same ones used for 1/144 NG kits. The difference is that the Leo's parts are thicker and heavier than of those other kits.
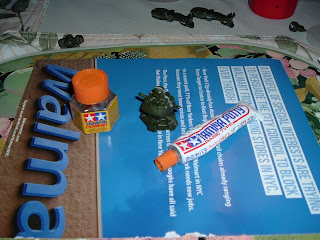
When you put 2 symmetrical parts together, you see a thin seam line from where both parts connect. For your painted Gunpla to look its best, it's recommended that you remove that line. You can fill it in with either plastic cement (Left), or with modeling putty (Right). In this case, I used both to cover every inch before smoothing out the surface with sandpaper. I also had to scrape off mold lines of excess plastic from several parts.
If you watched Gundam Wing, and you had a good eye, you'd notice that the Leo had 4 bolts on each kneecap. Since this Leo has no bolts, I decided to improvise. Cutting tiny bits from the polycap runner, I glued them on both kneecaps (Above). And if you closely at the leg, you'll notice the areas where the seam lines used to be.
The next few pics show the complete, unpainted Leo:
Front View
Side View
Rear View
Action Pose
That's all for today. Next time I'll show you how I prepared the Leo for painting. Until then, good night and Godspeed.


No comments:
Post a Comment