
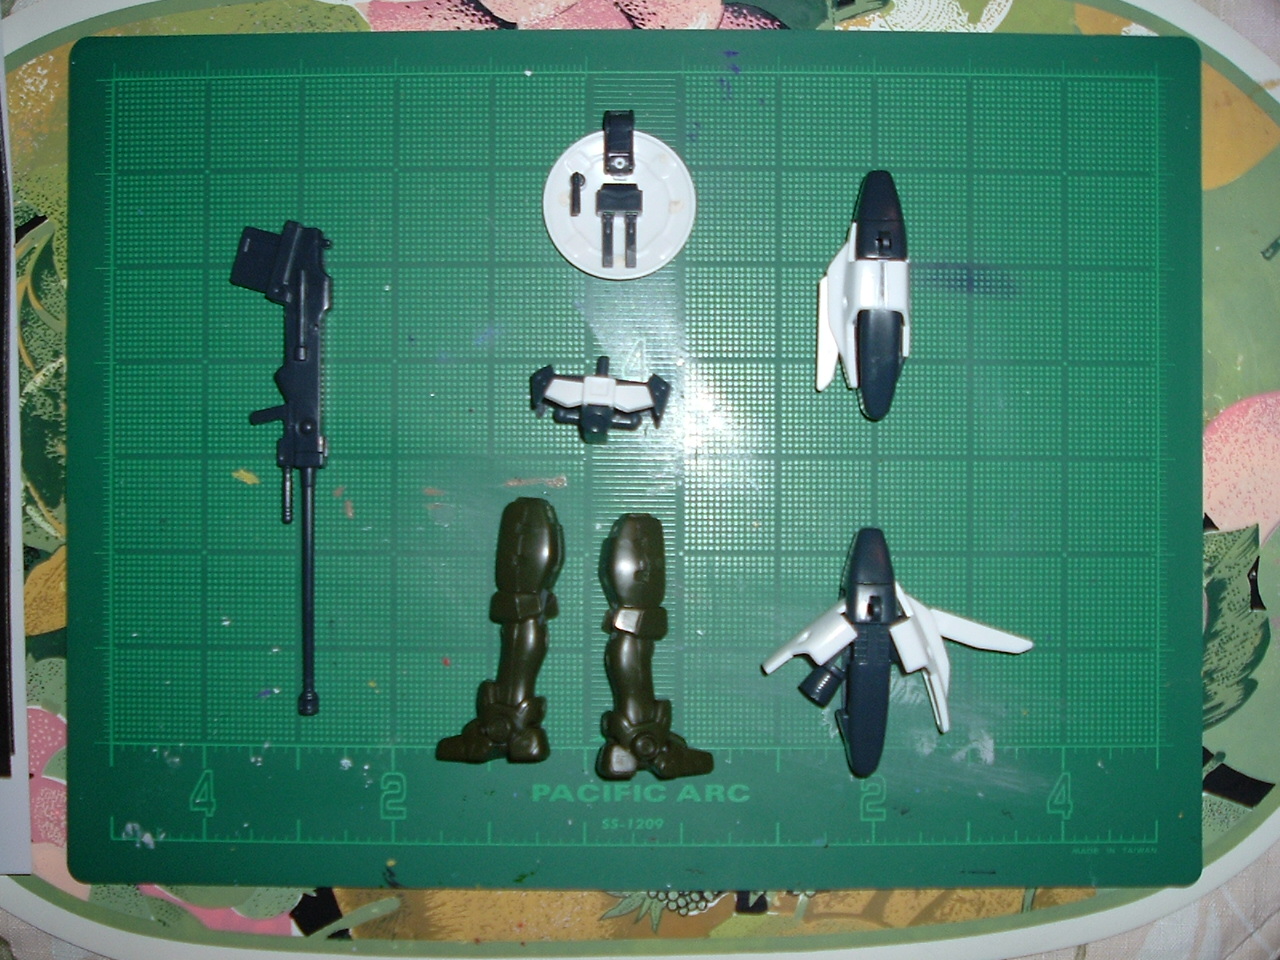
I started by building the remaining parts to see how they fit.

Next, after binding Leo's torso with rubber bands, I sanded the sides and then drilled into the torso from under the waist to fit Tallgeese's abdomen. If you look closely, you'll see the drill wasn't exactly centered. But then, the drill itself was smaller than the hole for the polycap.

But then I took apart the torso and cut and sanded the channels inside in order to widen the now deepened hole. Because the lower torso is hollow on the inside, Leo can do a full 360 at the waist with no problems, at least until I attach Tallgeese's rear skirt armor.

On a related topic, I've finally sanded off the eagle outline on Tallgeese's shield. Now for the completed product.

Front View

Rear View

Rear View with Twin Verniers Raised
The last time I worked on this, I thought the torso was too long and would cause proportion problems. But the completed model looks better than I expected. Having already drilled a hole in Leo's head to squeeze in Tallgeese's headcrest, I'm thinking of filling the hole and just gluing the crest on instead. The arms need cleaning up, but I've cut channels in the sidearms and they clipped onto the shoulders just fine. So did the twin verniers at the back, though their parts fit in so tight they barely open to reveal the thrusters. By comparison the legs don't fully snap together, and I still have to modify them to fit Tallgeese's side skirt armor. And I've also got to remove the seams on the feet and elsewhere. Cleaning up the weapons shouldn't be too hard. You'll notice that I've kept the rubber bands on the torso, cuz both halves tend to split apart. I'll also need more supplies for the modifications I have in mind. So things will get pretty busy until the next post. Until then, it's great to be back in the saddle!
No comments:
Post a Comment